Go For the Green: How to Mount a Staghorn Fern

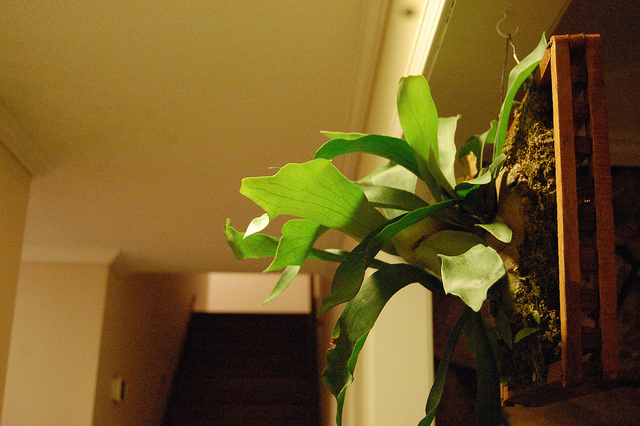
Photos, posters, artwork… Some things lend themselves to framing and mounting—but what about houseplants? Epiphytes, like the popular staghorn fern, are perfectly suited to the framing treatment as they draw water and nutrients from the surrounding air (read: no soil required!). Store-bought mounted ferns can be costly, but you can easily create your own at home with a few supplies and a little elbow grease. Here's how:

1) For this project, you'll need a mounting surface, typically a wood board or plaque or a shallow crate. You'll also need clear fishing line, a picture-hanging kit, sphagnum moss, nails, and, of course, a staghorn fern.

2) Lay your mounting surface on a table, then hammer four nails into its front, in the shape of a square.

3) Wet your moss, then wring out extra moisture. Create a moss "bed" for your fern in the area between the four nails. Position your fern upon the moss, then wrap fishing wire around the nails and across the fern to affix it to the board.

For the rest of the tutorial, click though to How To Mount a Staghorn Fern on Apartment Therapy.
How to Clean Your Microwave Without Harsh Chemicals

From reheating leftovers to warming up bowls of canned soup, your microwave sees a whole lot of messes from its various daily tasks. You may think that you need to use a store-bought cleanser to get out those tough, caked-on stains, but if you want to avoid those harsh chemicals, you can actually make your own cleanser at home. Follow these steps for cleaning your microwave in an all-natural way.

  1. Pour one cup of vinegar into a microwave-safe bowl, and then add one cup of hot water and stir the two together.
  2. Place the bowl with its vinegar solution in the center of the microwave and turn it on. Let it run on average power for 10 minutes.
  3. Keep an eye on the bowl and remove it from the microwave when you notice it starting to boil (likely somewhere between 5 and 10 minutes). Note: Be sure to use an oven mitt, as the bowl will be very hot.
  4. Wet a rag with lukewarm water and give the inside a good wipe-down to remove the now-loosened debris inside.
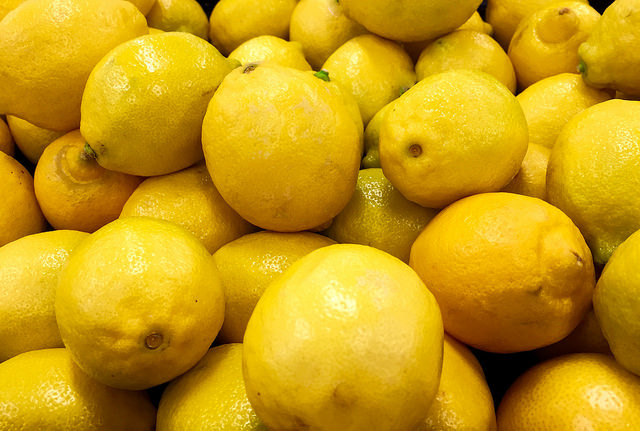
  5. Once all of the debris is steam cleaned away, create a simple solution of lemon juice and water. Dip another rag into the homemade cleanser and give the microwave another wipe-down to freshen things up.

How to Clean Your Microwave Naturally With Just a Lemon [The Kitchn]
How to Clean and Shine Your Microwave Without Cleaner [One Good Thing]
Use a Lemon to Make Cleaning the Microwave Easy [Lifehacker]

Follow These Tutorials to a Cool and Kitschy Macrame Plant Hanger

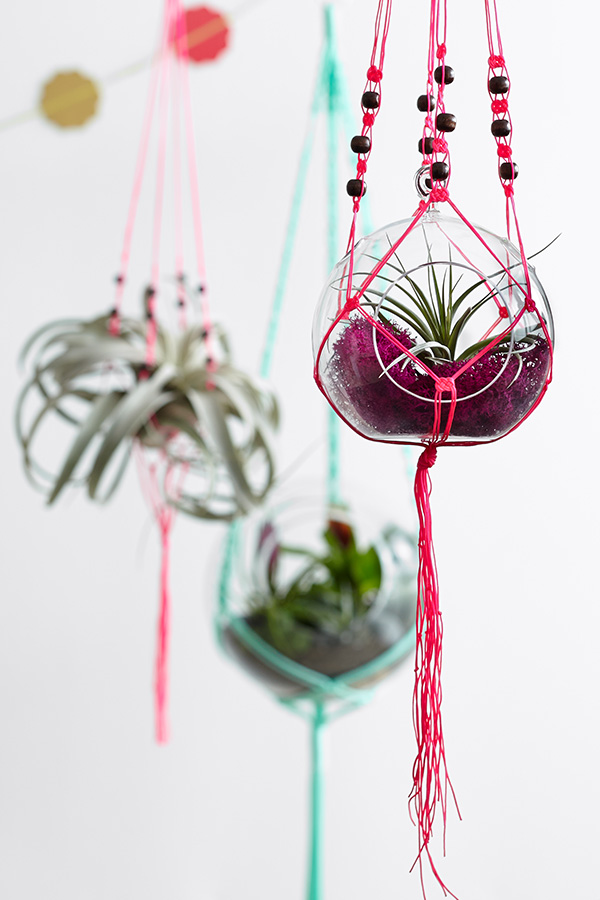
Macramé may have originally gained popularity back in the 1970s, but the kitschy weaving craft is coming back in a big way. If you love plants and you’re always looking for fun new ways to display them, you may even want to try making a macramé plant hanger of your own. Here are a few tutorials to help you get started!

Colorful Polyester Rope Hanger [hgtv.com]
With this tutorial, you’ll learn how to make a macramé hanger using only a few colors of polyester rope, a carabiner, and a screw hook. The actual plant hanger itself is fairly simple, but wrapping the multicolored string around the top adds a fun pop of color.

Sturdy Macramé Plant Hanger [lowes.com]
If you’re looking for something that’s a bit sturdier to hang a particularly heavy plant, this is a great tutorial. It uses clothesline instead of the usual yarn or polyester rope, as well as 18-gauge steel wire and a chain ring for added reinforcement.

Mini String Planters [blog.freepeople.com]
For something quicker and easier, this cute tutorial from the Free People blog uses standard yarn that you might already have stashed away at home. This is a fun tutorial to do while you relax in front of the TV, and the finished product is a great way to hang small air plants or succulents in miniature pots.

Organize Jewelry and Accessories With These Smart and Easy DIYs

If it seems almost impossible to keep your necklaces, rings, and other accessories neat and organized, read on! These smart tips will show you new, smart ways to keep your jewelry and accessories tidy and tangle-free. Best of all, you can make them yourself — inexpensively!

Antique Saucer Jewelry Storage [Buzzfeed]
Store your everyday jewelry right out in the open by using a few china tea saucers. You can usually find them at your local thrift store, and they make a good place to corral loose rings, bracelets, and earrings.

Hanging Thread Organizer [onegoodthingbyjillee.com]
Make a quick visit to your local craft store and purchase a wooden thread organizer. This handy storage solution is meant to hold spools of thread, but its numerous wooden pegs are also perfect for hanging necklaces and bracelets on the back of a door, on the wall, or inside of a cabinet.

Corkboard Jewelry Holder [beehiveandbirdsnest.com]
Many people have an unused corkboard tucked away in a closet, and if you don’t, you can easily pick one up for cheap at an office supply store. Place attractive push-pins all over the corkboard and arrange them in a way that best suits your jewelry collection.

How to Better Organize Your Under-Sink Storage

Whether it’s in the kitchen or the bathroom, the under-sink area is like a no-man’s land of cleaning supplies, sponges, beauty products and, for many people, even a garbage can. Just because these spaces are hidden doesn’t mean that they should be disorganized, however. The under-sink area is an untapped resource for storage space, and these helpful tips will show you how to get everything in order.

  1. Empty it out. Before you attempt to organize the contents of underneath your sink, you should pull everything out and give the cabinet a good scrubbing. Then, toss out any old cleaning products or unused supplies to make room for the things that you use every day.
  2. Add some shelves. If you have enough height underneath your sink to do so, add a shelf to maximize that space. These are available specifically for the under-sink area at most home goods stores. Choose one that best fits under your sink, making sure to account for any low-hanging pipes.
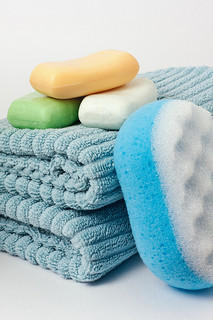
  3. Group things together. Now that you’re ready to put things back, group your cleaning products and other supplies in groups that make sense. This will be different for different people, but an example would be to group all dishwashing supplies in one area, toss them in a small plastic bin, and slide it onto one of the shelves. If you’re tackling a bathroom under-sink area, group beauty products in one bin, cleaning supplies in another, and maybe place some replacement soaps and shampoos in a third.

Clutter Make-Over of the Month: Under-Kitchen Sink [Youcopia]
Curing clutter problems in under-sink cabinets [unclutterer]
How to Organize Under Your Bathroom Sink [VideoJug]

Pin It on Pinterest