Sagging, Scratching and Tearing — Oh My! Don’t Let These Common Problems Ruin Your Furniture

Whether you recently invested in a brand-new sofa or you've had your furniture for years, everyone wants to keep their furniture in top condition. Here are some smart tips that will prevent sags, tears, and other common furniture issues in your home.

  • Flip your cushions frequently. To keep your cushions from getting too flat, make sure that you flip them frequently. You can use this trick on chairs, sofas, and anything else with a removable cushion.
  • Turn your mattress. Prolong the lifespan of your mattress by flipping it every six months or so. This will help to keep the springs in place and avoid placing weight on the same spot every night.
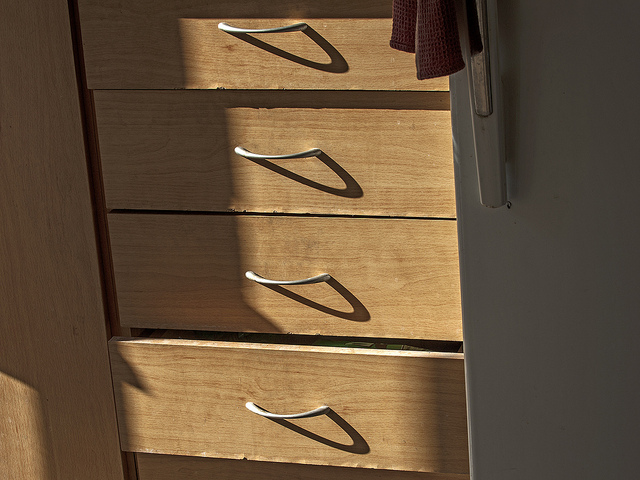
  • Keep wood furniture away from heat and sunlight. Wood is very durable, but when it comes to sunlight, things can start fading fast. Try to arrange your hardwood furniture so that it's not in the path of direct sunlight, and avoid placing wooden pieces near a heater to prevent warping.
  • Take coasters seriously. You may think of coasters as a bit of an annoyance, but when it comes to preserving the life of your wooden tables, they're actually very important. Keep a few coasters on hand so that your cold beverages don't make rings on wood surfaces.
  • Only use oil soap for wooden furniture. Cleaning your wooden tables and chairs with any old cleaner may damage their surfaces. Instead, always clean these pieces with oil soap diluted with equal parts water.
  • Dust frequently. It may look harmless, but dust can damage the inside of your rugs, sofa cushions, and on top of wooden shelves and tables. Make sure to take cushions outside and give them a good beating to shake out the dust, and frequently dust wooden pieces using a gentle feather duster or an old rag.

Caring for Furniture [HGTV]
Go For the Old! Here’s What to Look For at The Local Thrift Store

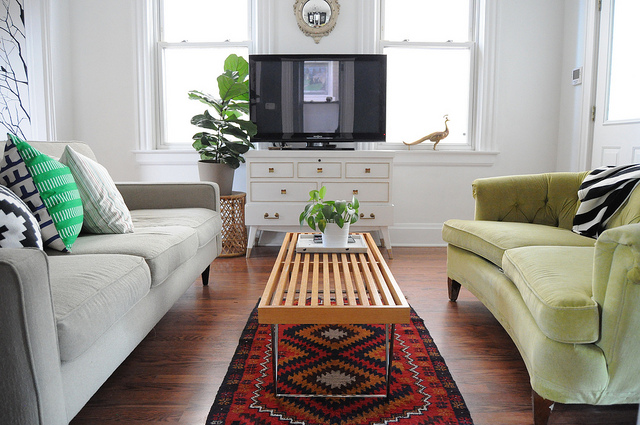
Whether you're looking to add a touch of character to your home or simply trying to save some money on must-have furniture items, shopping at thrift and antique stores is a great choice. Before you set out on your thrifting journey, learn about the best items to look for on your hunt.

  • Solid wood pieces. Anything built of solid wood likely means it's built to last. Inspect tables, desks and bed frames to see if they're made of real wood instead of particle board or laminate materials.
  • Mid-century modern items. The mid-century modern movement is having a big comeback, so you can feel confident that these items will stay in style for years to come. Seek out chairs and sofas with tapered wooden legs, sleek desks and tables with metal hairpin legs, and items made of sturdy teak wood, which was popular during this era.
  • Woven or imported rugs. While purchasing a new rug can cost you a pretty penny, you'll often find trendy vintage styles for much less at the thrift store. Search for woven styles, Southwestern patterns or imported designs, like Persian or Moroccan rugs.
  • Vintage picture frames. Picture frames are also pricey when purchased new, so you should always take a look around for metal or wooden frames at the thrift store. Even if it already has a photo inside, you can take it out and start fresh with your own print.
  • Kitschy electronics. While purchasing an old TV can be a bit dangerous (many thrift chains don't even sell them anymore), you should keep your eyes peeled for antique radios, clocks, and other analog items that are now collectibles.

Style a Catalog-Worthy Bed With These Pro Pointers

Styling your bed can be a little difficult. There are so many different color and pattern options for bedding, not to mention the wealth of options available for pillows and decorative accents! Follow the tips below to create a unique bed that fits your style.

  • Follow guidelines on how to layer your pillows depending on the size of your bed. For example, a king bed should have three Euro pillows, then two king pillows, then two standard pillows, and a few accent pillows on top of that.
  • Use a simple, neutral color for your comforter or duvet cover and add a splash of color with your pillowcases or accent pillows.
  • Place a throw or blanket at the bottom of your bed. Make sure the texture or color matches the same as your pillows at the head of your bed.
  • For a sophisticated look, be sure to make your bed tight with little to no wrinkles.
  • Style up your bed with a traditional wooden, upholstered, metal, or neutral headboard.
  • If headboards aren’t your style, hang a piece of art or a large mirror on the wall above your bed to create the illusion of a headboard.

How To Make a Bed [Pottery Barn]
How to Style a Bed [The Everygirl]
Dressed to Snooze: 20 Ideas for Styling a Bed [Apartment Therapy]

How to Add a Pop of Color to Your Existing Decor

While a nice, neutral color palette is a great way to make your home feel chic and polished, things can also feel a bit drab without any color. If you’re looking for a way to add a pop of color to your home at The Paddock at Norwood without going overboard, these tips will help.

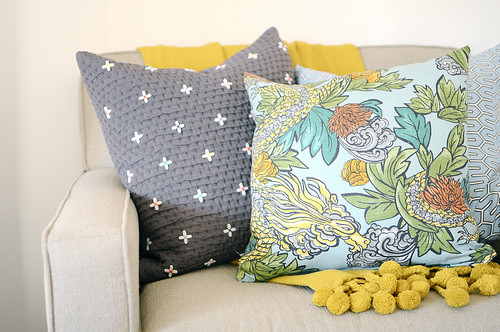
  1. Add a throw pillow. Even if you already have throw pillows on your furniture, adding just one more in a bright, complementary color may be all that you need. Try one bold shade and keep the others simple by using textures or patterns in neutral hues.
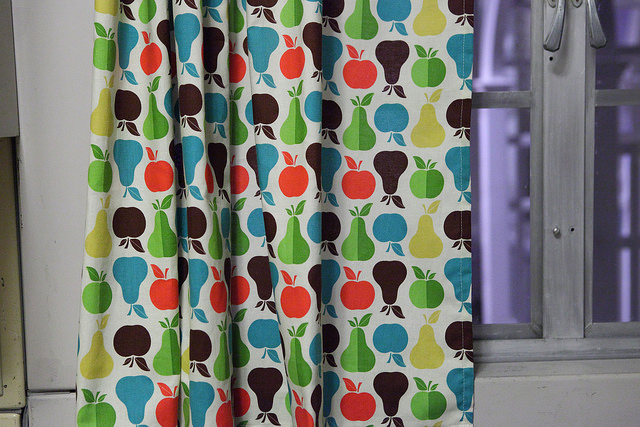
  2. Freshen up your window treatments. Replace your blinds or shades with sheer curtains in a fresh color. If you don’t want to commit to one color, try curtains in a repetitive pattern with an accent color throughout.
  3. Add some bright artwork. If your walls are looking a bit bare, try framing some colorful prints that are much brighter than the rest of your decor. This is a great way to maintain your existing style while still brightening things up a bit.
  4. Add colorful chairs. Update a home office or your kitchen table by swapping out the matching chairs with something in a contrasting shade. You may even want to paint your current chair in a bold turquoise or rich red!

Top 10 Tips for Adding Color to Your Space [HGTV]
10 Surprising Ways to Add Color to Your Home [House Beautiful]
Five Ways To Add Color to Your Home This Week [Apartment Therapy]

How to Plant and Grow a Terrarium at The Paddock at Norwood

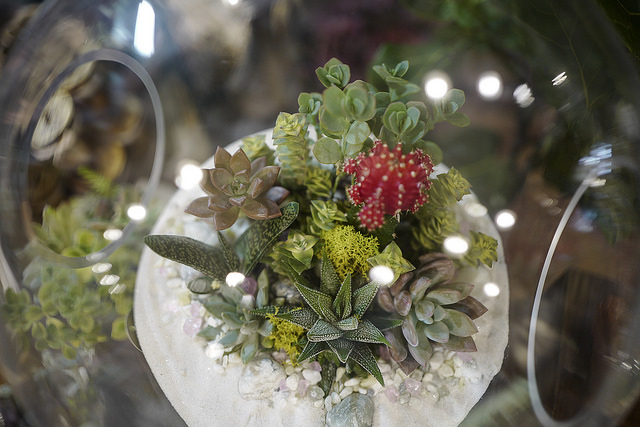
You’ve likely seen stylish terrariums filling the pages of all of your favorite interior design catalogs, but did you know that these unique gardens are also very easy to make at home? Here are just a few simple ways to create your own terrarium and add a bit of greenery to your rental at The Paddock at Norwood!

  1. Whether you choose a small, round terrarium that you can hang from the ceiling or a larger, tank-style option for very large creations, you’ll want to choose something in a durable class that will enable you to see the plants through the sides.
  2. Add a layer of small stones or pebbles to the bottom of the terrarium for proper water drainage. This should measure about one-inch thick.
  3. Add another one-inch layer of activated charcoal on top of that for a finer drainage system.
  4. Top it off with a 1.5-inch layer of sphagnum moss to hold the soil in place and prevent it from sliding into the pebbles.
  5. Take a soil designed especially for terrariums and pre-moisten it using a spray bottle of water. Add a thick layer of three to four inches on top of everything.
  6. Remove pot-bound roots from your plants and add them to the soil. You may need to divide the plant into sections if it’s too big to fit the scale of the terrarium.
  7. Decorate with rocks and other accessories.

Terrariums: A Guide to Plants and Care [Better Homes & Gardens]
How To Make Terrariums [About Home]
Make Your Own Terrarium [HGTV]

Mix Patterns Like a Pro With These Designer-Inspired Tips

One of the easiest ways to add an eclectic, bohemian flair to your apartment’s decor is by mixing prints and patterns. From the living room to the bedroom, these designer-inspired tips and tricks will show you how to properly incorporate multiple patterns without going overboard.

  1. Think in threes. Many designers agree that odd numbers of design elements, particularly threes, have a positive impact in a room. When you’re choosing how many patterns to use in your throw pillows or gallery walls, keep this rule in mind.
  2. Choose a base color. Instead of mixing prints without a plan, start by choosing one main color to tie them all together. If you know that all of your patterns should incorporate the same shade of orange, for example, you can be sure that they’ll clash in stylish way.
  3. Mix sizes. Instead of mixing similar sized patterns, such as multiple oriental rugs or too many delicate stripes, try to use various sizes. Think one small gingham pattern with one large, bold paisley print.
  4. Combine eras. To avoid making your home look dated, combine vintage prints with something modern and geometric.
  5. Take a step back. Like with any decorating endeavor, it always helps to take a step back and check out your work to see how things look together.

Mix Patterns Like a Pro [HGTV]
Mix and Match 101 [House Beautiful]
How to Mix Patterns in Your Home [Real Simple]

How to Transform an Old Piece of Furniture With Paint

Do you have a well-made but outdated piece of furniture in your home that you hate to throw away? Luckily, it’s easy to transform that ugly wooden chair or banged-up dresser into something fresh and modern with only a simple coat of paint. Here are a few tips that will save you money on new furniture by showing you how to re-vamp your existing pieces.

  1. Sand it thoroughly. One of the most important steps when painting furniture is to completely remove the old stain or paint first. Sand the entire piece with a medium-grit sandpaper on an electric sander, or if you don’t own one, get to sanding by hand—just make sure you don’t sand too much and damage the wood underneath.
  2. Wipe off the residue. After sanding, wipe the entire surface using a tack cloth designed specifically to remove sawdust.
  3. Prime the piece. Some people say that you don’t need to prime a piece of furniture, but if there’s a chance that the wood might be laminate, it’s better to be safe than sorry. Purchase a primer designed for your specific needs and smooth it on with a foam roller.
  4. Paint. Apply at least three coats of paint using a different foam roller, allowing at least eight hours of drying time between coats. Once the third coat dries, your furniture will look like new!

The 5 Biggest Mistakes You Make When Painting Furniture [Country Living]
Paint Makeovers: An Expert Tells All [Bob Villa]
Quick Furniture Makeovers for Fashionable Results [Benjamin Moore]

How to Create an Eye-Catching Vignette

While design magazines and blogs make it seem effortless to throw a few things together on a shelf and make it look stylish, in real life, it’s not quite as easy. If you want to learn how to create a magazine-worthy vignette, these simple tips will show you the way.

  1. Start with a blank slate. No matter what type of finished product you have in mind, it’s always best to start with a blank surface so that you can really visualize where things will go.
  2. Gather complementary colors. Before placing the items in your vignette, make sure that they all look good together. They don’t have to match exactly, but they should look purposeful together.
  3. Start with the largest item. Place your largest item first, whether it’s a lamp or a vase of flowers.
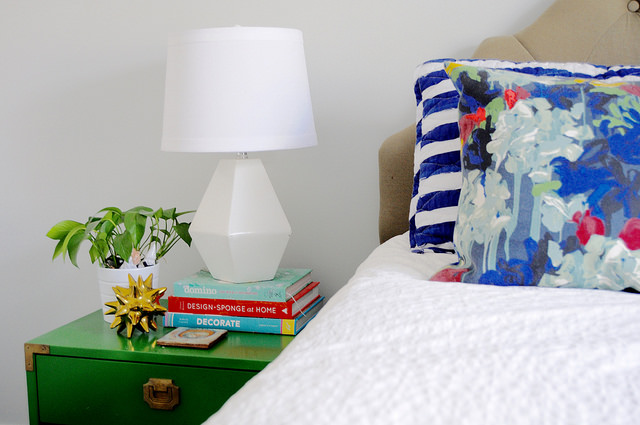
  4. Think of layers. Place items at varying heights and depths, such as a couple of large frames against the wall and smaller candles at the front. You can also stack books horizontally to offset the vertical items.
  5. Play with spacing. Move objects a few times, then step back and admire your work to find the right spacing.
  6. Consider texture. Finally, create texture in your vignette. Incorporate lush plants, flowers, feathers or even a woven basket as a finishing touch.

Creating a Well-Styled Table Vignette [Jenna Burger]
8 Tips for Making Beautiful Vignettes [HGTV]
Rule of Three and Odd Numbers [Cecilia Walker Design]

Don’t Have a Green Thumb? Read These Tips for Growing Cacti and Succulents!

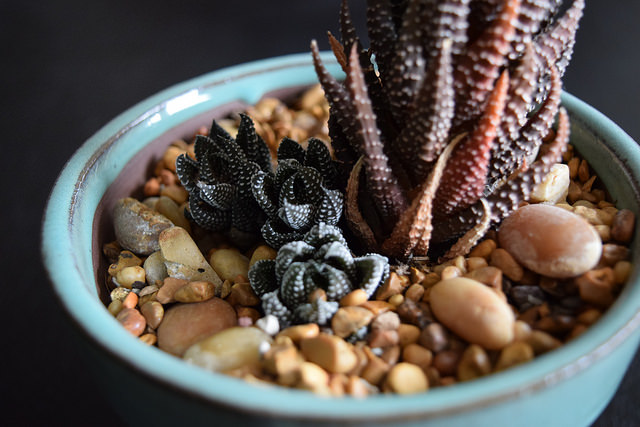
Don't have a green thumb? Try growing cacti and succulents! These low-maintenance plants are used to living in dry desert environments, which means they require little watering. Use these simple tips for keeping your succulents happy and healthy.

  1. Keep them in a sunny spot. Because both cacti and succulents like a lot of sunlight, try to position them in the sunniest spot in your home.
  2. Use well-draining soil. These plants are very sensitive when it comes to watering, so use well-draining soil and a pot with a drainage system in the bottom to help prevent root rot.
  3. Rotate frequently. To ensure that each side of your succulent gets an equal amount of sunlight, rotate the plant once a week or so.
  4. Water according to the soil. Instead of watering them on a set schedule, water your succulents only when their soil is bone dry. Soak them completely by letting the pot sit underneath the showerhead for a good ten minutes.
  5. Promote dormancy in the winter. While your cactus should be watered frequently in warmer months, allow the soil to go almost completely dry in the cold winter months to help the plant go dormant.

Cacti And Succulents Inside Your Home [Gardening Know-How]
Cultivating Cacti and Succulent Plants [HGTV]
Growing Guide – Cactus [Cactus Land]

Stylish Storage Solutions for Arts and Crafts Supplies

Whether you’re an avid crafter or your children are often doing art projects at home, you know how difficult it can be to find storage space for all of those paints, markers, fabrics, crayons, and other supplies. Here are just a few stylish ways that you can keep your arts and crafts supplies neatly organized until your next DIY project.

Mason Jar Storage System [redtri.com]
Turn your storage solution into an art project in itself. This colorful DIY idea involves covering old mason jars in fun, pattered washi tape, then using those jars to store everything from markers to paint brushes and even loose buttons.

Kids’ Craft Apron [www.bhg.com]
If your child has trouble keeping his or her craft supplies together while doing a project, you can make this simple apron as your next family art project. Simply take an old gardening apron, use the belt to tie it to the side of your child’s crafting table, and fill the spacious pockets with all of the essentials.

Hanging Storage Bins [apartmenttherapy.com]
Screw a metal rod from any home goods store into your wall, then attach S-shaped hooks and hang bins in all sizes from each hook. You can use these to keep your art supplies within reach but off of your tabletop.

Pin It on Pinterest