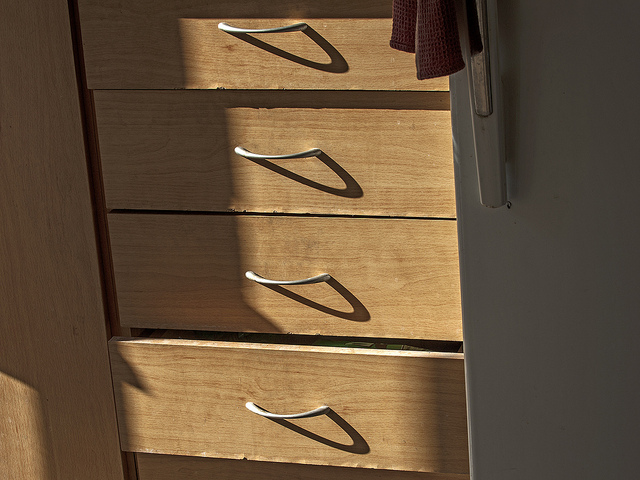
Do you have a well-made but outdated piece of furniture in your home that you hate to throw away? Luckily, it’s easy to transform that ugly wooden chair or banged-up dresser into something fresh and modern with only a simple coat of paint. Here are a few tips that will save you money on new furniture by showing you how to re-vamp your existing pieces.
- Sand it thoroughly. One of the most important steps when painting furniture is to completely remove the old stain or paint first. Sand the entire piece with a medium-grit sandpaper on an electric sander, or if you don’t own one, get to sanding by hand—just make sure you don’t sand too much and damage the wood underneath.
- Wipe off the residue. After sanding, wipe the entire surface using a tack cloth designed specifically to remove sawdust.
- Prime the piece. Some people say that you don’t need to prime a piece of furniture, but if there’s a chance that the wood might be laminate, it’s better to be safe than sorry. Purchase a primer designed for your specific needs and smooth it on with a foam roller.
- Paint. Apply at least three coats of paint using a different foam roller, allowing at least eight hours of drying time between coats. Once the third coat dries, your furniture will look like new!
The 5 Biggest Mistakes You Make When Painting Furniture [Country Living]
Paint Makeovers: An Expert Tells All [Bob Villa]
Quick Furniture Makeovers for Fashionable Results [Benjamin Moore]


 Equal Housing Opportunity